

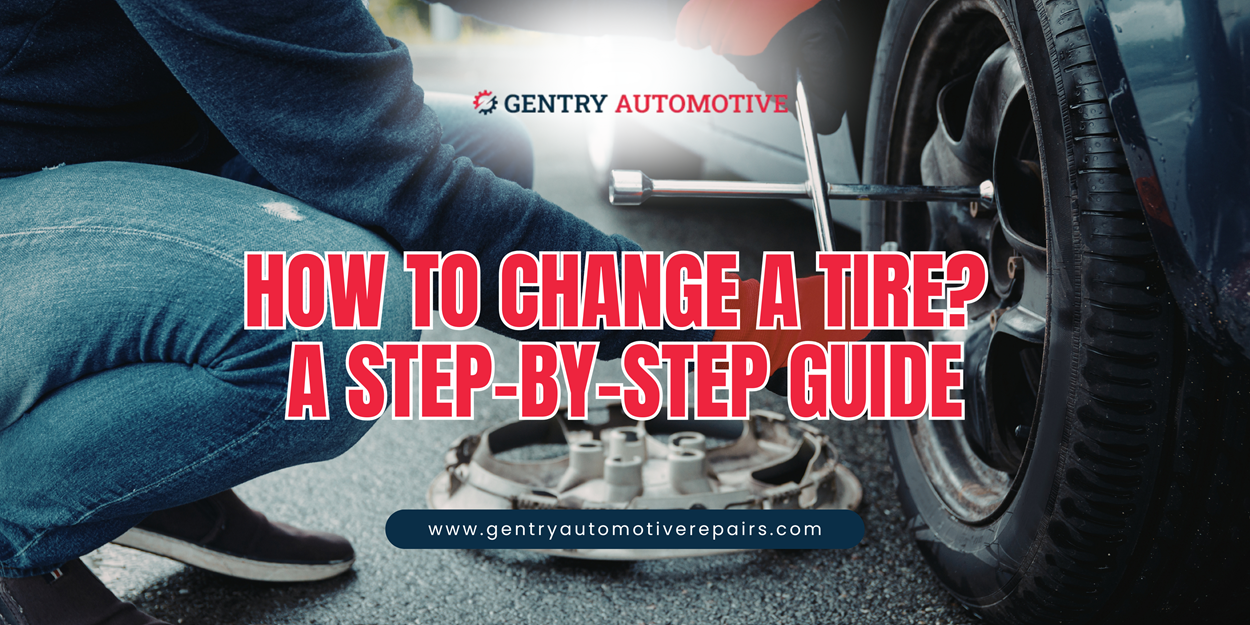
A flat tire is one of those universal “bad days” that eventually happens to every one of us. While it is tempting to just sit and wait for a tow truck, knowing how to change a tire is a massive boost to your confidence and can get you back on the road much faster than waiting for help.
Changing a tire isn’t just limited to mechanics. It is a pretty straightforward process that anyone can do with a little bit of knowledge and the right tools. This guide breaks down the steps to change a tire in a way that is easy to follow, even if you have never looked at a jack in your life.
Tools Needed to Change a Tire
You cannot perform a roadside repair without the correct tools. Most vehicles come equipped with a basic change tire kit, but relying on factory-supplied equipment can be risky if you haven’t inspected it recently. Before you ever find yourself in the middle of a highway, you must verify you have the following:
- The Spare Tire: A spare is of no use if it is flat. Check the pressure of your full-sized spare every time you get an oil change.
- The Jack: A mechanical device used to lift the vehicle. Ensure the lead screw is not rusted and is moving freely.
- The Lug Wrench: A lug wrench is used to loosen and tighten the wheel nuts. Many factory wrenches are short, making it difficult to break seized nuts. A telescopic wrench or a breaker bar is a superior aftermarket addition.
- Vehicle Owner’s Manual: This is not optional. It contains the specific “jacking points” for your chassis. Lifting a car by the floorboards or a fuel line will result in unavoidable damage.
Steps to Change a Tire Yourself
Step 1: Securing the Perimeter
Safety is crucial. Find a flat, stable surface well away from moving traffic. Turn on your hazard lights and engage the parking brake. If possible, place a heavy object (like a rock or a wooden block) in front of or behind the tire diagonally opposite the flat to prevent the car from rolling.
Step 2: Loosen the Lug Nuts
Before the car leaves the ground, you must address the lug nuts. If you wait until the car is jacked up, the wheel will simply spin as you try to turn the wrench.
Remove the hubcap or wheel cover if necessary. Fit the lug wrench onto a nut and turn it counter-clockwise. You only want to “break” the initial resistance. Use your body weight if necessary, pushing down on the wrench rather than pulling up to protect your back.
Step 3: Position the Jack
Consult your manual for the correct jacking point. Usually, this is a reinforced metal area of the frame near the wheel well.
Slowly operate the jack until the flat tire is approximately three inches off the ground. This height is necessary because the fully inflated spare tire will require more clearance than the deflated one you are removing. Never, under any circumstances, put any part of your body under the vehicle while it is supported only by a jack. Jacks are stable vertically but extremely weak against lateral force.
Step 4: Removal and Replacement
Now, finish unscrewing the lug nuts. Keep them together in a pocket or a hubcap to avoid losing them. Grasp the flat tire with both hands and pull it straight toward you. It may be heavy and covered in brake dust.
Once removed, lay it flat on its side under the frame of the car near the jack. This acts as a temporary safety cushion if the jack fails. Align the rim of the spare tire with the wheel bolts. Push the spare onto the bolts until it sits flush against the hub.
Step 5: Mount the Spare
Replace the lug nuts and tighten them by hand until they are snug. To ensure the wheel sits perfectly straight on the hub, you must tighten it in a “star” or “criss-cross” pattern. Never tighten them in a circle. By jumping across the wheel to the opposite nut, you distribute the pressure evenly.
Step 6: Lower and Torque
Lower the jack until the spare tire is touching the ground, but the full weight of the car is not yet resting on it. Now, use the lug wrench to tighten the nuts as hard as possible using the same star pattern. Finally, lower the vehicle completely and remove the jack.
How Long Does It Take to Change a Tire?
A common question for those in a rush is, ‘How long does it take to change a tire?’ If you are familiar with your tools and the vehicle is on level ground, the process typically takes 15 to 30 minutes. However, environmental factors like rain, darkness, or rusted lug nuts can increase this time. It is better to move slowly and accurately than to rush and risk a safety error.
Things to Take Care of After Replacing the Tire
The job isn’t finished just because the jack is back in the trunk. Temporary spare tires (donuts) are not designed for high-speed travel or long distances. Most are rated for a maximum speed of 50 mph and a distance of no more than 50 miles. Their rubber is thinner, their tread is shallower, and they provide significantly less traction than a standard tire.
Furthermore, because the diameter of a donut is often different from that of standard tires, it puts immense strain on your car’s differential. Driving on a spare for a week can lead to thousands of dollars in transmission or drivetrain damage.
Maintenance & Professional Support
The majority of spare tires are “temporary” (often called donuts). They are not designed for long-term use or high speeds. Observe the following limits:
- Speed: Do not exceed 50 mph.
- Distance: Do not drive more than 50 miles on a temporary spare.
- Handling: The car will have less traction and braking power; drive conservatively until you reach a repair facility.
Staying Road-Ready and Reliable
Understanding how to change a tire is about taking control of a situation that otherwise leaves you vulnerable. While the mechanical steps are straightforward, the discipline required to execute them safely is what separates a successful repair from a dangerous mistake.
If you find that your tires are showing signs of dry rot, uneven wear, or if you simply don’t feel comfortable performing these repairs yourself, it is time to consult the professionals. For residents of Montgomery, Texas, Gentry Automotive provides expert repair services and comprehensive tire care to ensure you stay on the road safely and your vehicle remains in peak condition.
Frequently Asked Questions About Changing a Tire
1. How long does it take to change a tire?
Changing a tire typically takes about 15–30 minutes when you have the correct tools, a safe level surface, and a properly inflated spare tire. Rusted lug nuts, bad weather, or difficult roadside conditions can make the process take longer.
2. What tools do I need to change a tire?
You generally need a spare tire, vehicle jack, lug wrench, and your vehicle owner’s manual. The manual is especially important because it identifies the correct jacking points for your vehicle.
3. Can I change a tire myself?
Yes, you can change a tire yourself if you have the proper equipment and can safely work away from traffic on stable, level ground. If the location is unsafe or you are unsure about the process, contact roadside assistance or a professional technician.
4. How far can I drive on a temporary spare tire?
Many temporary spare tires are designed for limited use, often with a maximum speed of around 50 mph and a limited driving distance. Always follow the speed and distance limits printed on the spare tire or specified in your vehicle owner’s manual.
5. Do I need to get my tire checked after changing it?
Yes. After installing a spare, have the flat tire inspected and repaired or replaced as soon as possible. You should also have the spare’s lug nuts properly torqued to the vehicle manufacturer’s specifications.
6. Where can I get professional tire service in Montgomery, Texas?
If you’re in Montgomery, Texas, Gentry Automotive provides professional tire care and vehicle repair services. Our technicians can inspect damaged or worn tires, help with tire-related issues, and make sure your vehicle is safe and ready for the road.